BMW K bikes (Bricks)


You are not connected. Please login or register

View previous topic View next topic Go down  Message [Page 1 of 1]


1Back to top Go down   Gear position switch restoration Empty Gear position switch restoration Sat May 11, 2024 8:42 am

LifeGuard

LifeGuard
Silver member
Silver member
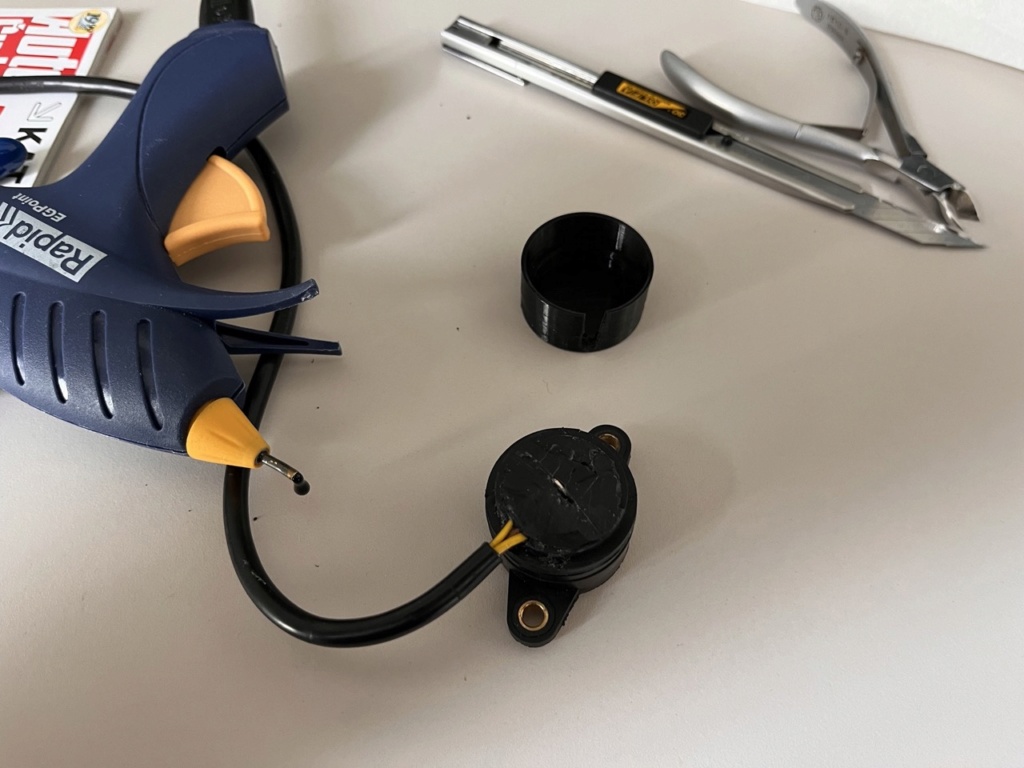
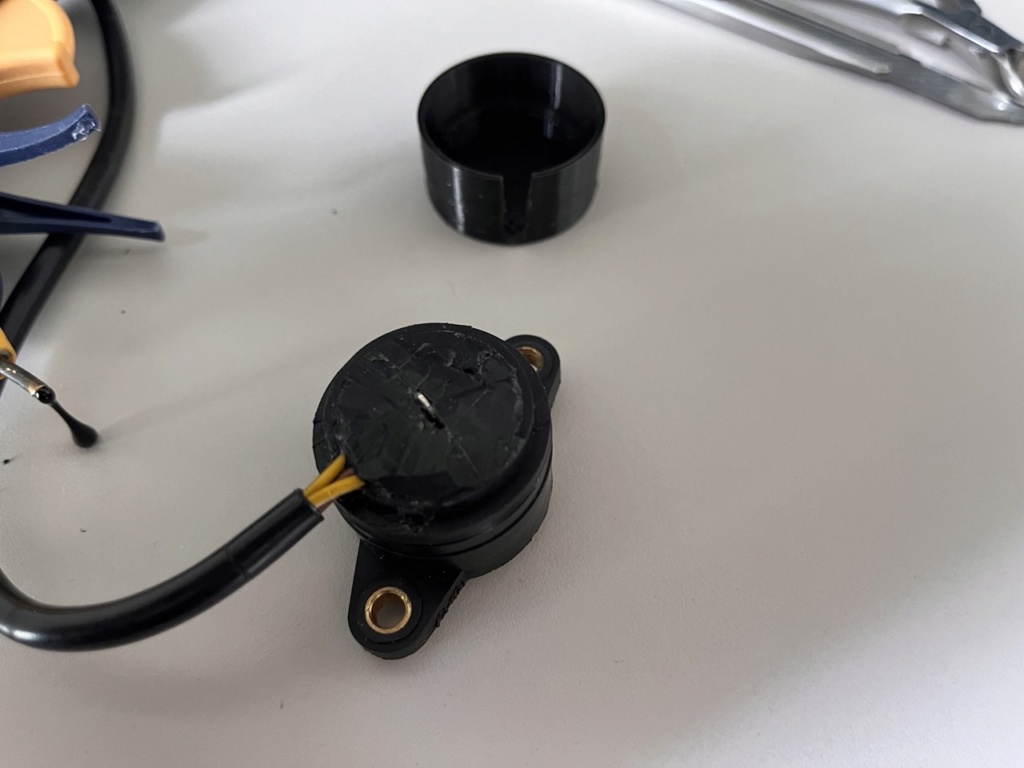
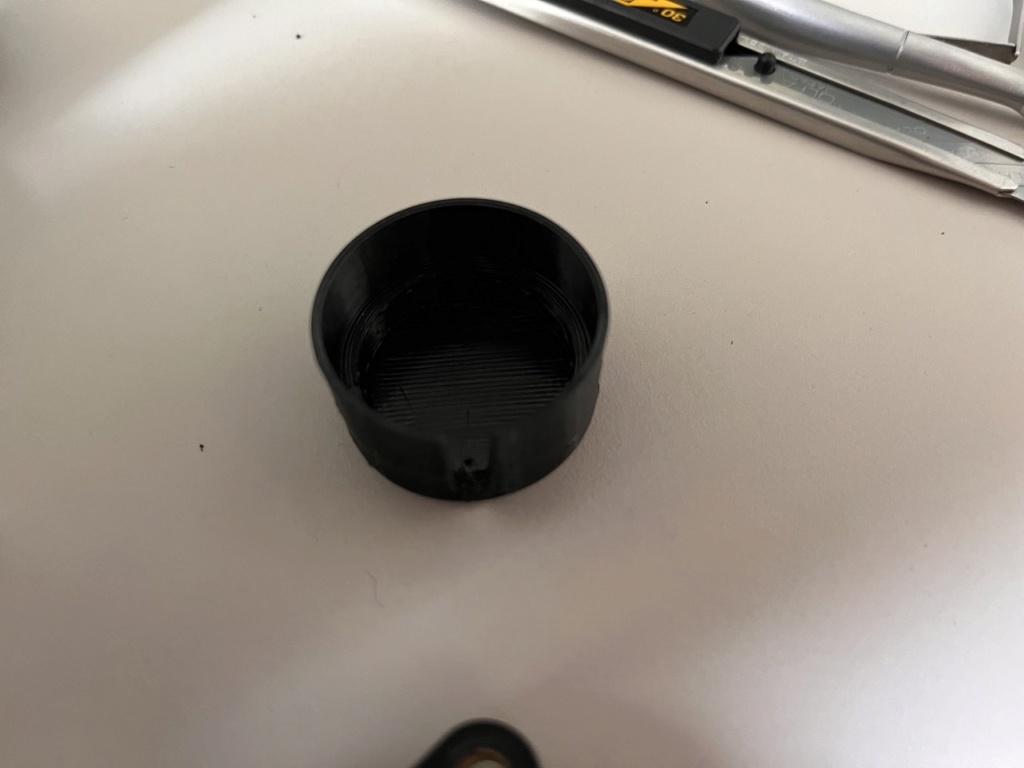
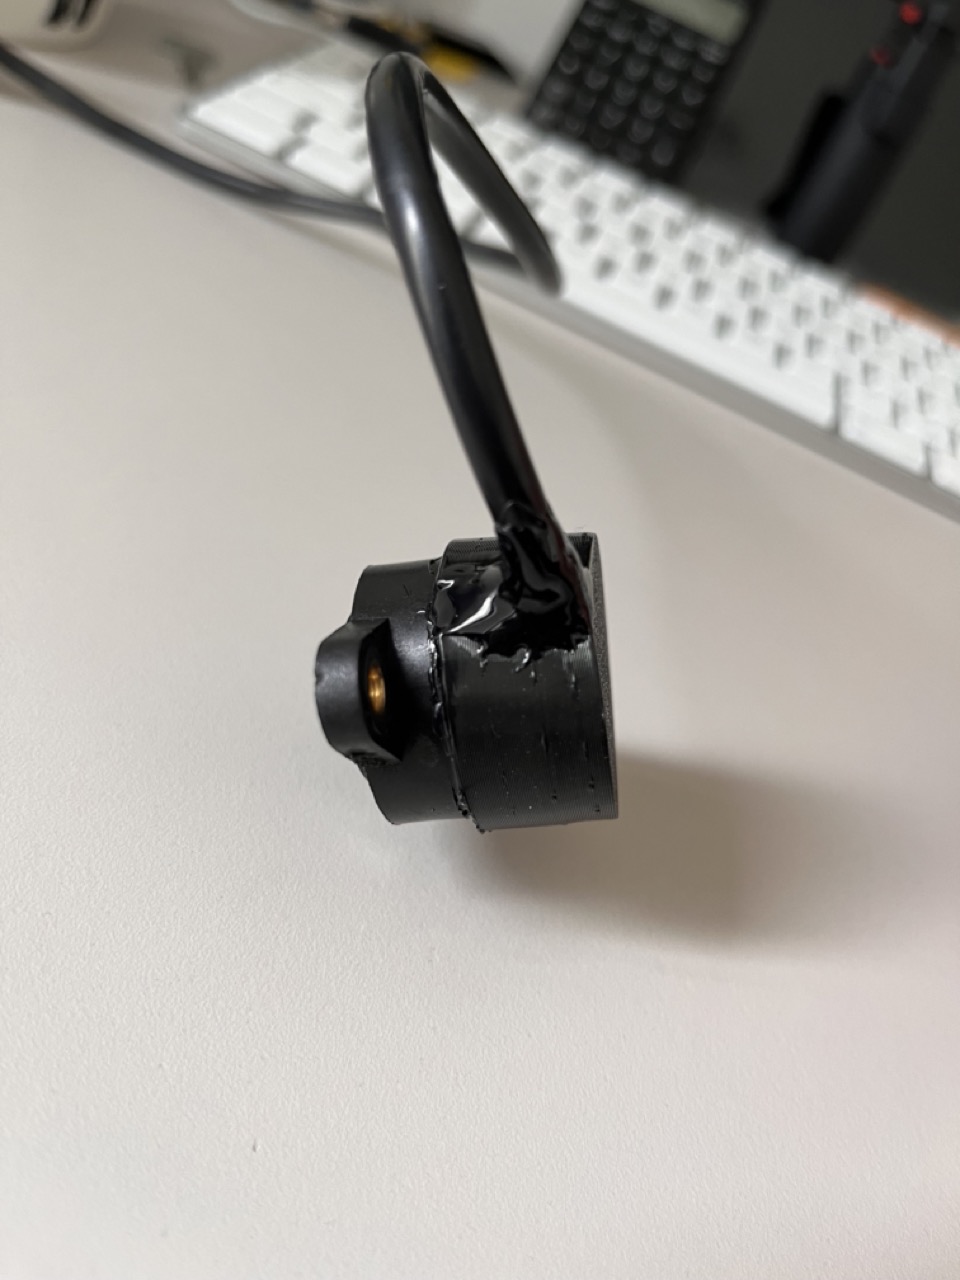
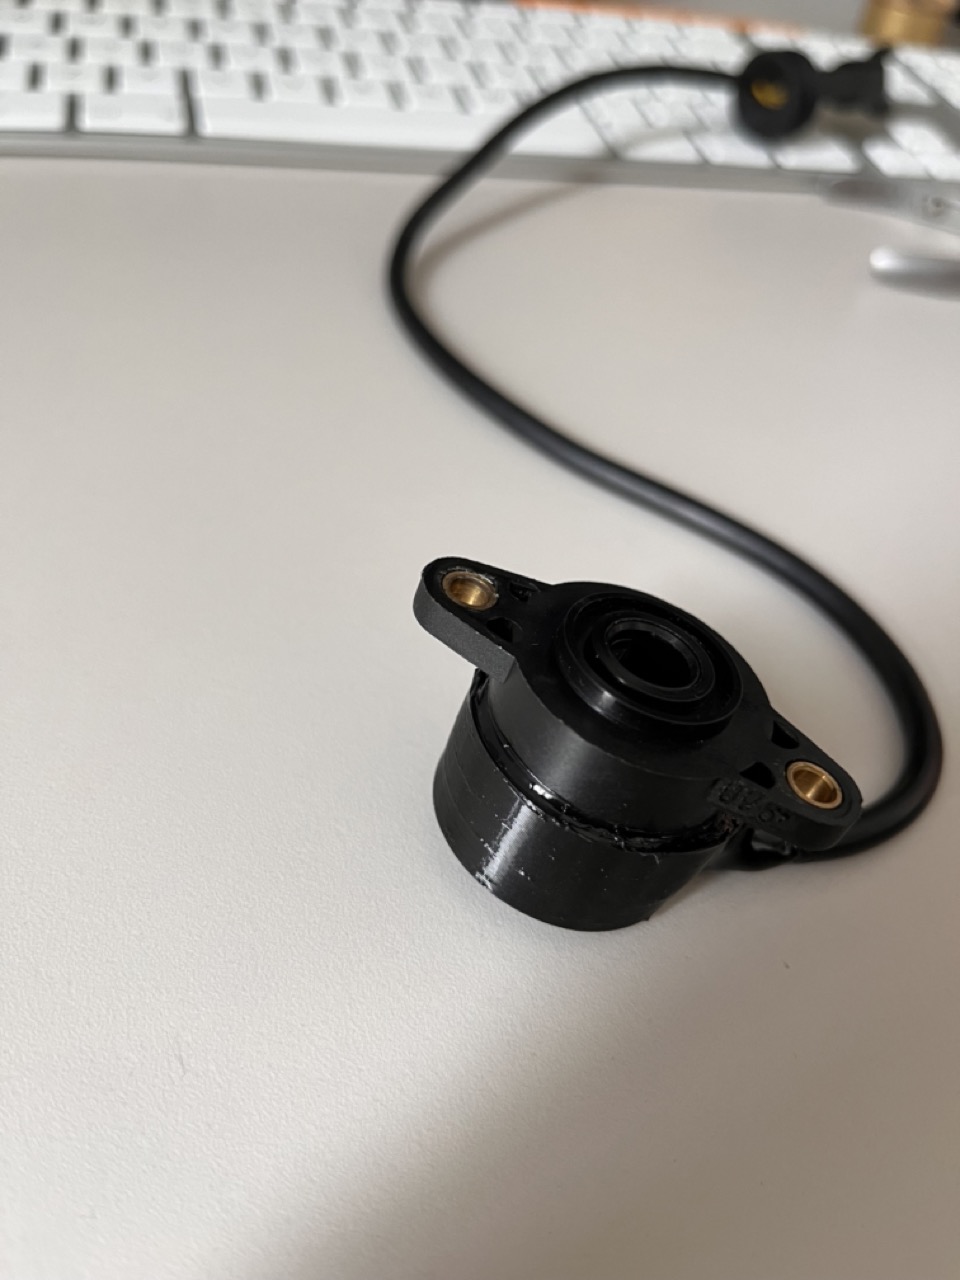
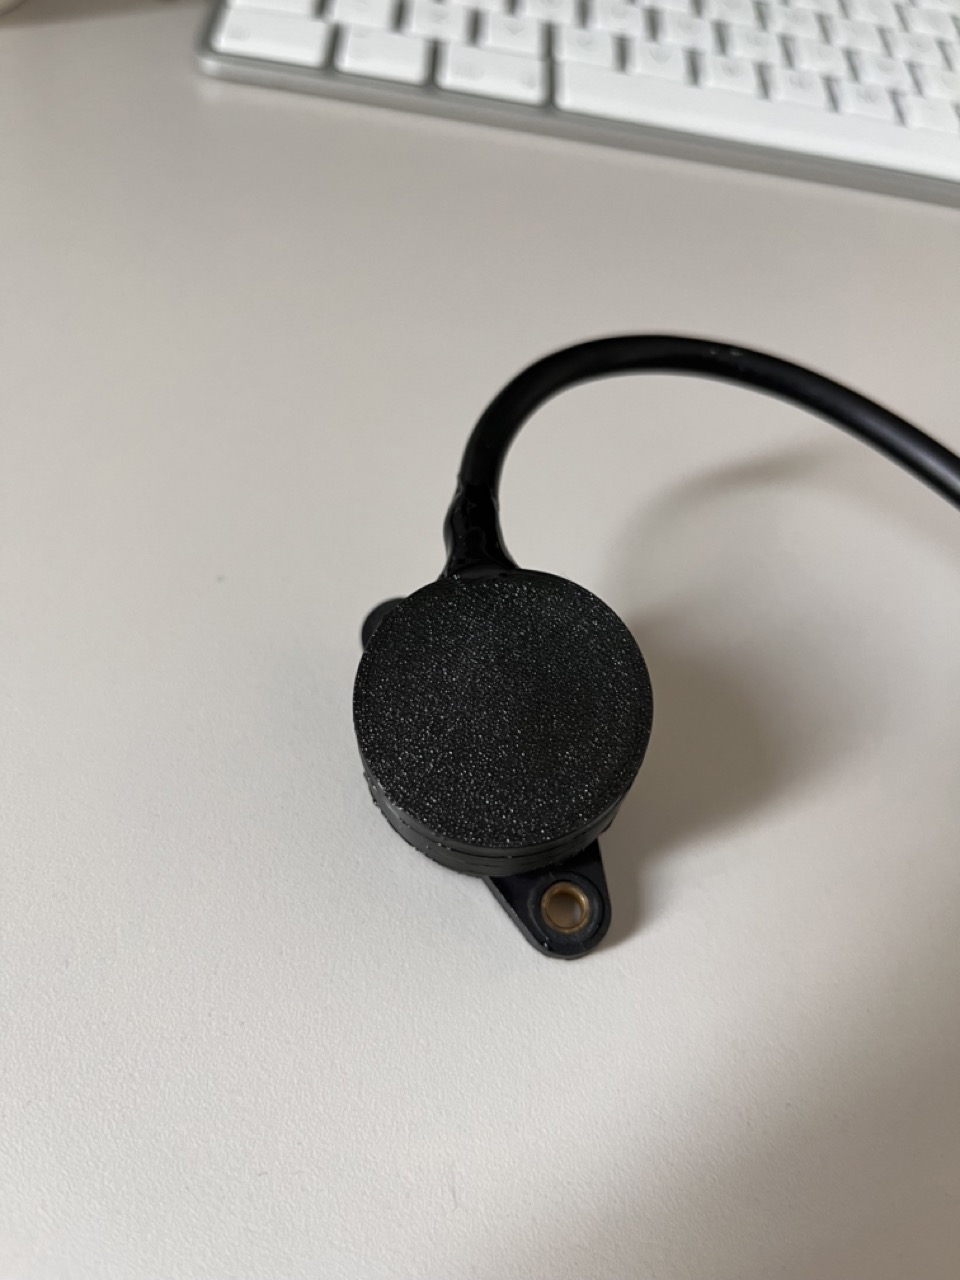
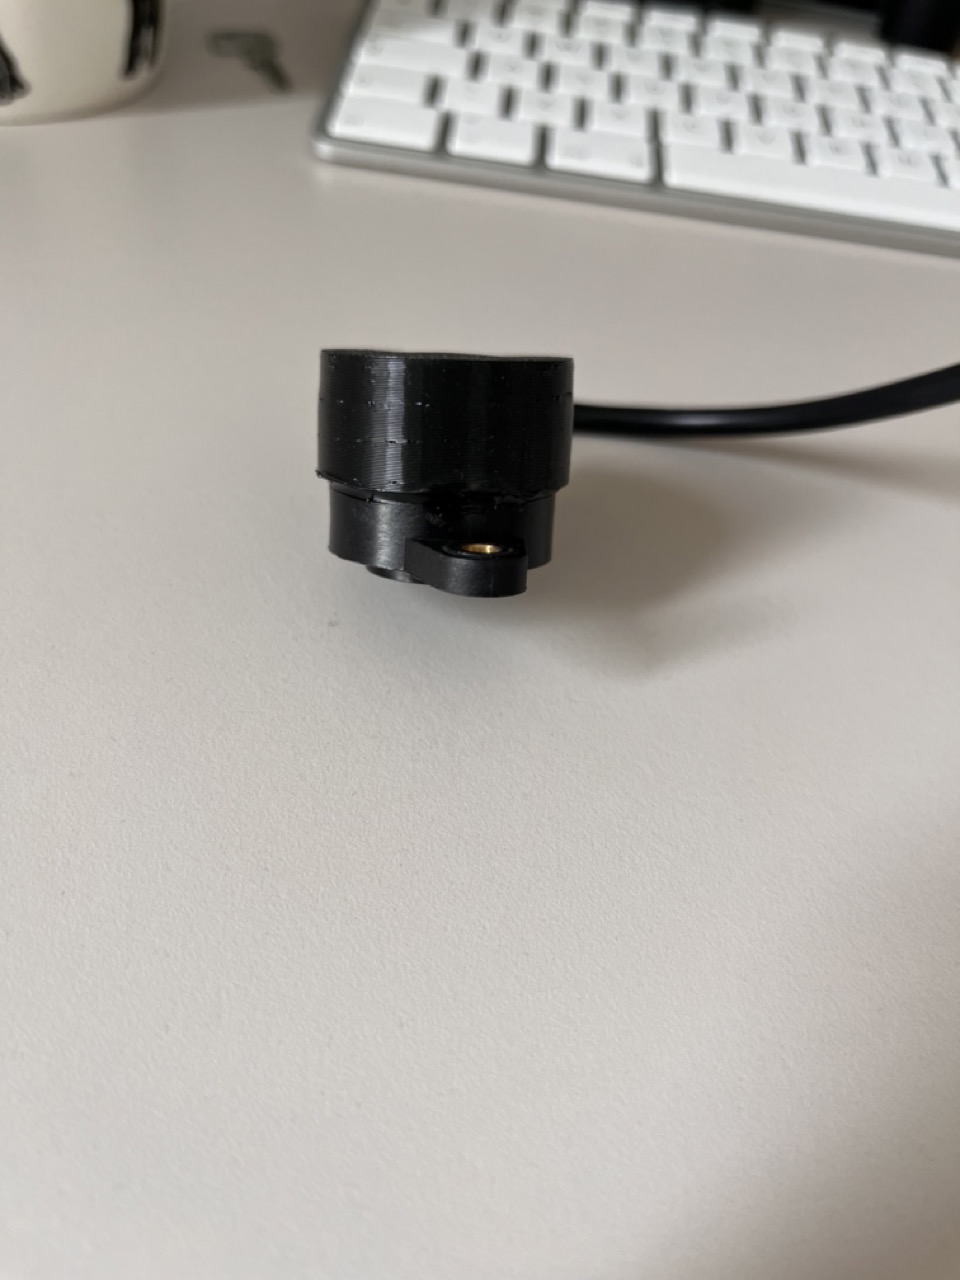
Hey, I wanted to share with you a method for refurbishing the gear position switch in a gearbox. As is known, the rubber cover of the sensor degrades over the years and crumbles in your hands. I decided to remove the remnants and rebuild such a cover using 3D printing and TPU material. I additionally sealed everything with black flexible plastic from a glue gun. This way, we ensure the tightness of the sensor and prevent corrosion of the contacts in the future.


Gear position switch restoration Img_1011
Gear position switch restoration Img_1010
Gear position switch restoration Img_1012
Gear position switch restoration Img_1013
Gear position switch restoration Img_1110Gear position switch restoration Img_1111
Gear position switch restoration Img_1112
Gear position switch restoration Img_1113

http://tchorzewski.net
    

2Back to top Go down   Gear position switch restoration Empty Re: Gear position switch restoration Sat May 11, 2024 8:50 am

Point-Seven-five

Point-Seven-five
Life time member
Life time member
Nice job!

I like the hot melt.  Instant gratification vs. the epoxy resin I used in my switches.


__________________________________________________
Present: 1991 K100RS "Moby Brick Too"
 
Past:
1994 K75RT "Ilsa, She Wolf of the SS"
1988 K100RS SE "Special Ed"
1994 K75S "Cheetos"
1992 K100RS "Moby Brick" R.I.P.
1982 Honda FT500
1979 Honda XR185
1977 Honda XL125
1974 Honda XL125
1972 OSSA Pioneer 250
1968 Kawasaki 175
    

3Back to top Go down   Gear position switch restoration Empty Re: Gear position switch restoration Sat May 11, 2024 11:07 am

Two Wheels Better

Two Wheels Better
Moderator
Moderator
Good job. I used epoxy on one of mine years ago. It held up for ages. But this seems far more secure.

I have moved the subject from Troubleshooting - Engine & Transmission to Troubleshooting - How To Do a Job.


__________________________________________________
How we spend our days is, of course, how we spend our lives. - Annie Dillard, author - born 1945
1977 R75/7-100, '93 K11/K12 Big Block, '93 K1100RS, '95 R100 Mystic, '96 K1100RS, 2 x '98 K1200RS, '06 K1200R & '09 K1300GT. Projects: 1993 & '96 K1100RS, & one '98 K1200RS. The R100 Mystic, K11/12 Big Block, 2nd K1200RS, K1200R & K1300GT are running, rego'd & ridable.
    

4Back to top Go down   Gear position switch restoration Empty Re: Gear position switch restoration Sat May 11, 2024 2:45 pm

Dai

Dai
Life time member
Life time member
For those that don't have a 3D printer, it's usually possible to get something about the right size (ain't got one to measure!) on ebay. Search "rubber end cap".


__________________________________________________
1983 K100 naked upgraded to K100LT spec after spending time as an RS and an RT
1987 K100RT
Others...
1978 Moto Guzzi 850-T3, 1979 Moto Guzzi 850-T3 California,1993 Moto Guzzi 1100ie California
2020 Royal Enfield Bullet 500
    

5Back to top Go down   Gear position switch restoration Empty Re: Gear position switch restoration Wed May 15, 2024 8:03 am

justmiketoo

justmiketoo
active member
active member
I’ve done this job a couple of times using the rubber protective cap from the end of a Stihl combi tool.
https://www.ebay.com/p/1600604733?iid=114385366443
It’s a bit too long but can easily be cut down to the right length. I drill a small hole in the side of the cap near the closed end, unsolder the wires from the back of the switch, insert the wires through the hole, and then resolder the wires to the switch. Next step, where it gets a little messy, I mix up a sizeable dollop of two part epoxy, fill the inside of the cap with a suitable amount, and then force the cap over the end of the switch, pulling the wire cable back out through the hole as the cap is push down over the switch. It’s a tight fit, but it will go down, probably exuding some of the epoxy out around the bottom and through the cable hole - keep a towel or rag handy to deal with this. To finish I apply a small zip tie near the bottom of the  cap to secure it in place while the epoxy cures. 
Installing the two “switch to trans casing” mounting screws is a bit of a tight fit, but they do go in - be careful not to cross thread them.
The author’s 3D printed part is obviously a better way to go, but in a pinch this will work - I just happened to have five combi tools and wasn’t going to miss a couple of caps.


6Back to top Go down   Gear position switch restoration Empty Re: Gear position switch restoration Wed May 15, 2024 5:46 pm

88

88
Life time member
Life time member
I've done a similar repair but without access to a 3D printer or suitable rubber caps I sealed the electrics with 2 part Epoxy and then wrapped it in electrical self amalgamating tape. It has survived in the irtish damp climate for the past 5 years.


__________________________________________________
Gear position switch restoration Ir-log1188....May contain nuts!Gear position switch restoration Ir-log11

"The world is a book and those who do not travel read only one page." - St. Augustine from 1600 years ago & still true!

K1 - 1989 - AKA Titan (unique K1/K1100RS hybrid by Andreas Esterhammer)
K1100RS - 1995. AKA Rudolf Von Schmurf (in a million bits)
K100RS - 1991 AKA Ronnie. Cafe racer project bike
K75RTP - 1994
K75C - 1991 AKA Jim Beam. In boxes. 
K1100LT 1992 - AKA Big Red (gone)
K100LT - 1988 - AKA the Bullion brick. Should never have sold it.
    

Sponsored content


View previous topic View next topic Back to top  Message [Page 1 of 1]

Permissions in this forum:
You cannot reply to topics in this forum