


1

 Installing a Gerbings Dual Permanent Controllers on my RS Sun Mar 28, 2010 9:53 am
Bonzo
Life time member

Earlier this year I took the (financial) plunge and invested in a pair of Gerbings heated gloves & jacket liner. As my circulation is poor (I suffer from Reynauds disease) I was delighted with the results of the gloves particularly and rate them much higher than heated grips.
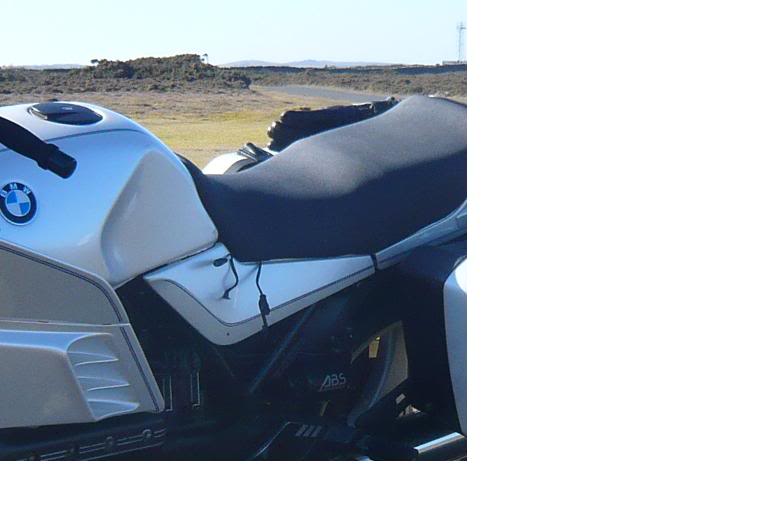
Anyway, for a short time I was riding around with 2 input cables sticking out from under my seat which I always found a little untidy:
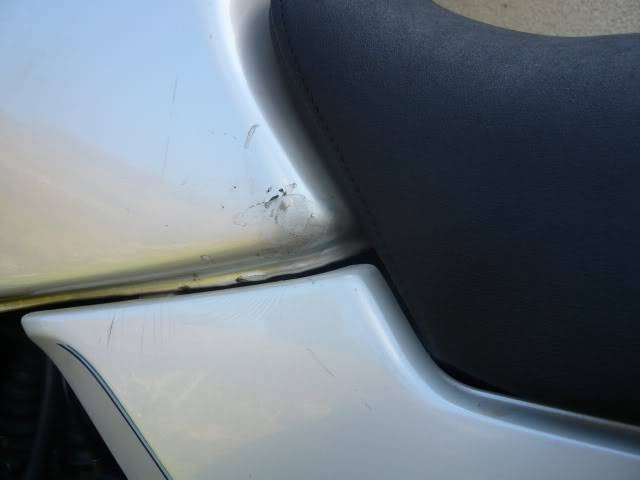
..not to mention the damage that it could do to the paintwork (as the bikes previous owner obviously found out:
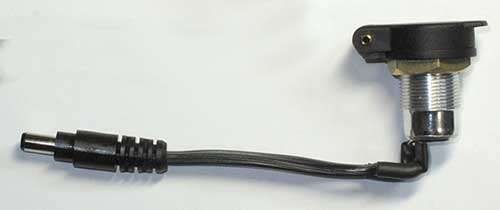
So, rather than a temporary controller that can be put in the pocket etc, I decided to go along with the permanent dual controller and starting thinking about where, and how, to mount it. To illiminate the dangling cables, I decided I needed some BMW/Hella sockets and wanted to feed them straight into the Gerbings control box. The obvious choice of location was the left side fairing inners. Plenty of room there to mount the two knobs, LEDs & input sockets.
After a few emails, Jim at Eastern Beaver made up a couple of these for me:
He reckons there's quite a demand for them (and excellent they are too) so hes now selling them here (tab down a bit)
Once Id got all the bits together (and sent one of the switches back to Gerbing as it wasnt clicking off - which they rapidly replaced) I started out with my drill. I cant tell you how difficult it is to get through the fairing inners. I just looks like thick rubbery plastic, but its also lined with tough metal. No wonder the bikes are so damn heavy .
.
After a couple of attempts, I wasnt happy with how the switches sat in the panel, and I couldnt get enough thread showing on the input sockets to get the lock nut on so I had to start thinking about some sort of 'plate'.
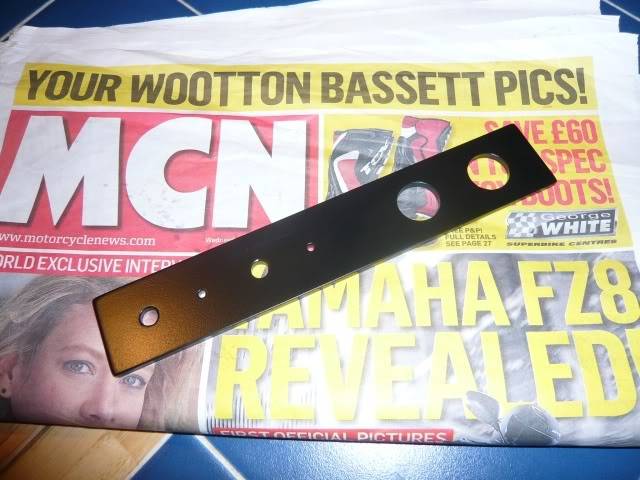
I drew a rough template out (basically outlining a 20cm ruler) and marked up where I wanted to put the holes. 7.25mm for the contol knobs, 2.77mm for the LEDs and 18mm for the input sockets.
I went to a sign writers with my sketch and he wanted £30 (around $45USD) for a bit of plastic. So I had a brainwave. My youngest son has just started an Engineering apprenticeship and has access to all the milling tools. I asked him if he wanted a 'project' and to his credit he set about the task with great efficiency. For a kick off, he re-drew my sketch properly, then next day came back with a plate of aliminium expertly drilled. I rounded off the edges a little and buffed it up with fine wire wool and sprayed in satin black and it ended up looking like this:
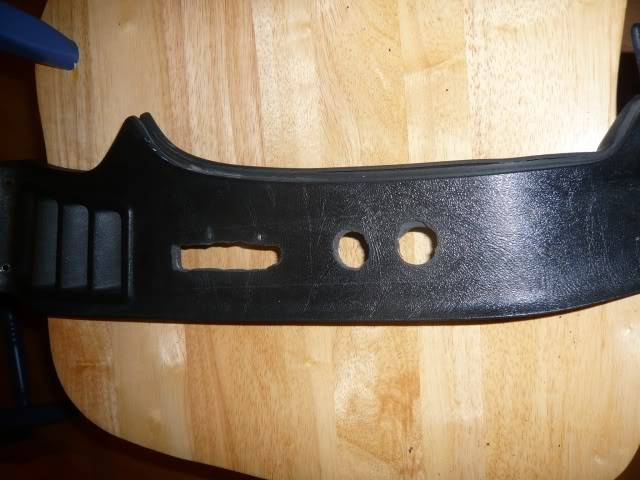
Heres a couple of pics of the 'customised' fairing panel top:
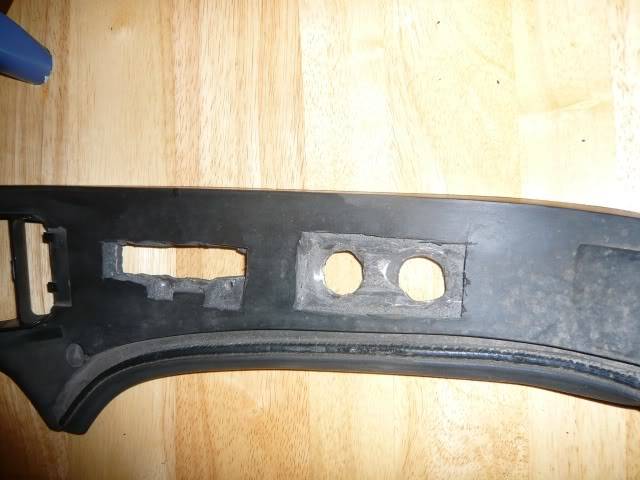
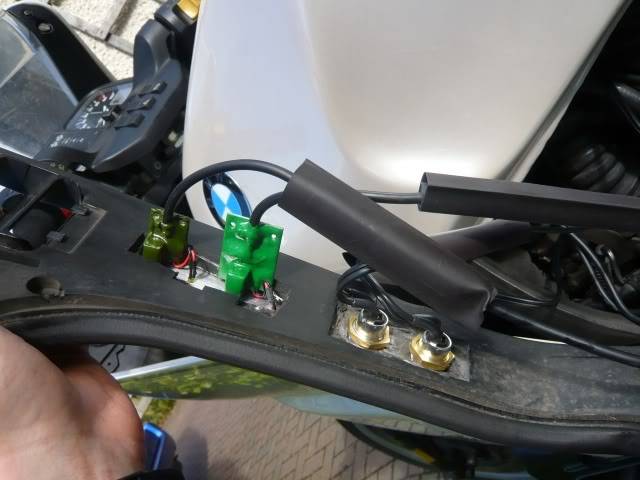
..and underneath:
I mounted the control box on top of the Motronic unit using sticky backed velcro
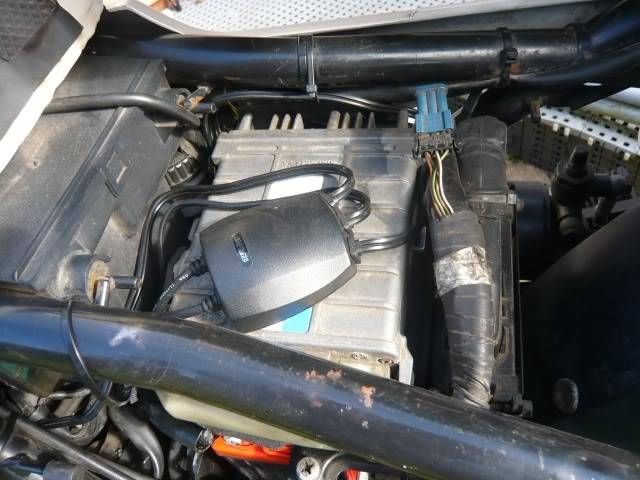
..and ran the cables along the most direct route to the inner fairing. I didnt need to take off the tank. I used a bit of silicone grease in the plug sockets:

..and used heat shrink to keep the moisture out.
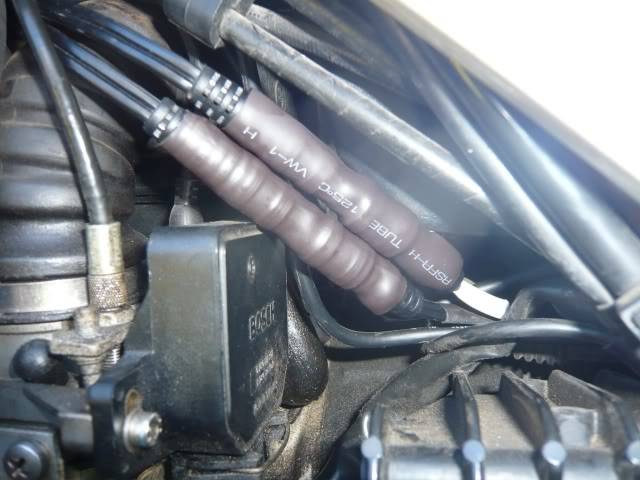
Heres the connections underneath the inside fairing panel (before I warmed up the heat shrink):

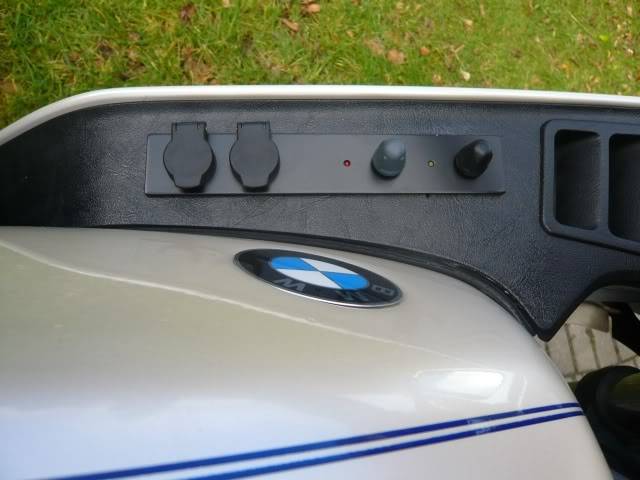
And here's the finished product:


If ever I decide I dont want this, I can get another panel off ebay and swap it in for that clean original look.
Bugger! Ive just realised that Im missing the WSB on Eurosport while Ive been typing this. Must dash.
Anyway, for a short time I was riding around with 2 input cables sticking out from under my seat which I always found a little untidy:
..not to mention the damage that it could do to the paintwork (as the bikes previous owner obviously found out:
So, rather than a temporary controller that can be put in the pocket etc, I decided to go along with the permanent dual controller and starting thinking about where, and how, to mount it. To illiminate the dangling cables, I decided I needed some BMW/Hella sockets and wanted to feed them straight into the Gerbings control box. The obvious choice of location was the left side fairing inners. Plenty of room there to mount the two knobs, LEDs & input sockets.
After a few emails, Jim at Eastern Beaver made up a couple of these for me:
He reckons there's quite a demand for them (and excellent they are too) so hes now selling them here (tab down a bit)
Once Id got all the bits together (and sent one of the switches back to Gerbing as it wasnt clicking off - which they rapidly replaced) I started out with my drill. I cant tell you how difficult it is to get through the fairing inners. I just looks like thick rubbery plastic, but its also lined with tough metal. No wonder the bikes are so damn heavy
After a couple of attempts, I wasnt happy with how the switches sat in the panel, and I couldnt get enough thread showing on the input sockets to get the lock nut on so I had to start thinking about some sort of 'plate'.
I drew a rough template out (basically outlining a 20cm ruler) and marked up where I wanted to put the holes. 7.25mm for the contol knobs, 2.77mm for the LEDs and 18mm for the input sockets.
I went to a sign writers with my sketch and he wanted £30 (around $45USD) for a bit of plastic. So I had a brainwave. My youngest son has just started an Engineering apprenticeship and has access to all the milling tools. I asked him if he wanted a 'project' and to his credit he set about the task with great efficiency. For a kick off, he re-drew my sketch properly, then next day came back with a plate of aliminium expertly drilled. I rounded off the edges a little and buffed it up with fine wire wool and sprayed in satin black and it ended up looking like this:
Heres a couple of pics of the 'customised' fairing panel top:
..and underneath:
I mounted the control box on top of the Motronic unit using sticky backed velcro
..and ran the cables along the most direct route to the inner fairing. I didnt need to take off the tank. I used a bit of silicone grease in the plug sockets:
..and used heat shrink to keep the moisture out.
Heres the connections underneath the inside fairing panel (before I warmed up the heat shrink):
And here's the finished product:
If ever I decide I dont want this, I can get another panel off ebay and swap it in for that clean original look.
Bugger! Ive just realised that Im missing the WSB on Eurosport while Ive been typing this. Must dash.
Last edited by Bonzo on Sun Mar 28, 2010 10:00 am; edited 2 times in total (Reason for editing : Addition)


