92KK 84WW Olaf

Life time member

Number of posts : 7886
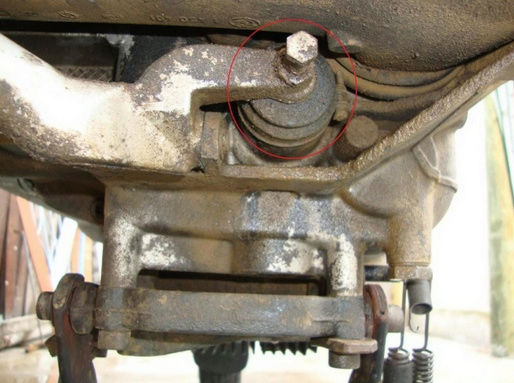
Its a tank off job.
If you haven't taken the tank off before or never taken one off a motorcycle before hold off until someone pops up instructions for the K1100RS.
I have taken tank off K100RT and K100LT and they are probably fairly alike in that some fairing parts come off these and probably also on the K1100RS. Its not difficult but just needs thought. The fuel lines need disconnecting and if they are perished or hard they may split. With tank off give a thought to replacing them with longer ones. They may well be original and held on with the factory clips which are a pain in as*.If possible have as little fuel as possible in the tank. You have an electrical connection too, for fuel pump and gauge wiring.
You will need somewhere soft to lay the tank and be careful of the tank spigots that the fuel lines go on to. If abused they can break.
Space is limited so you do come up from the rear as Duck says. When you are done make sure everything works after before you refit the tank.
Clutch cable does not come with the top nipple and there is also a nylon sleeve for it. You need these separately and keep the old nipple as a spare taped up in the bike somewhere, maybe inside the relay box.
__________________________________________________
1992 K100LT 0193214 Bertha Blue 101,000 miles
1984 K100RT 0022575 Brutus Baja Red 578 bought 36,000 now 89,150 miles
1997 K1100LT 0188024 Wotan Mystic Red 689 58,645 now 106,950 miles Deceased.
1983 K100RS 0011157 Fricka 606 Alaska Blue 29,495 miles Damn K Pox Its a Bat outta Hell Now 58,200 miles.
1996 K1100LT 0233004 Lohengrin Mystic Red 38,000 miles currently 48,061 miles.
1983 K100RS 0004449 Odette R100 colours 58,000 miles. Sprint fairing now 61,190 miles
Past:
1968 Yamaha 80 YG1
1971 Yamaha 125 YAS-1
1968 Honda 125 SS
1970 Honda CD 175
1973 Honda CB500-4
Honda CX 500


 Installing new clutch cable K1100RS advice Tue Oct 11, 2016 12:41 pm


 Ich bin enge Kirchröatsjer jong; adieë wa ?!