Point-Seven-five
Life time member

Number of posts : 4190
I'm not understanding what you are trying to do. There is no need to remove the swingarm if that is what you're talking about.
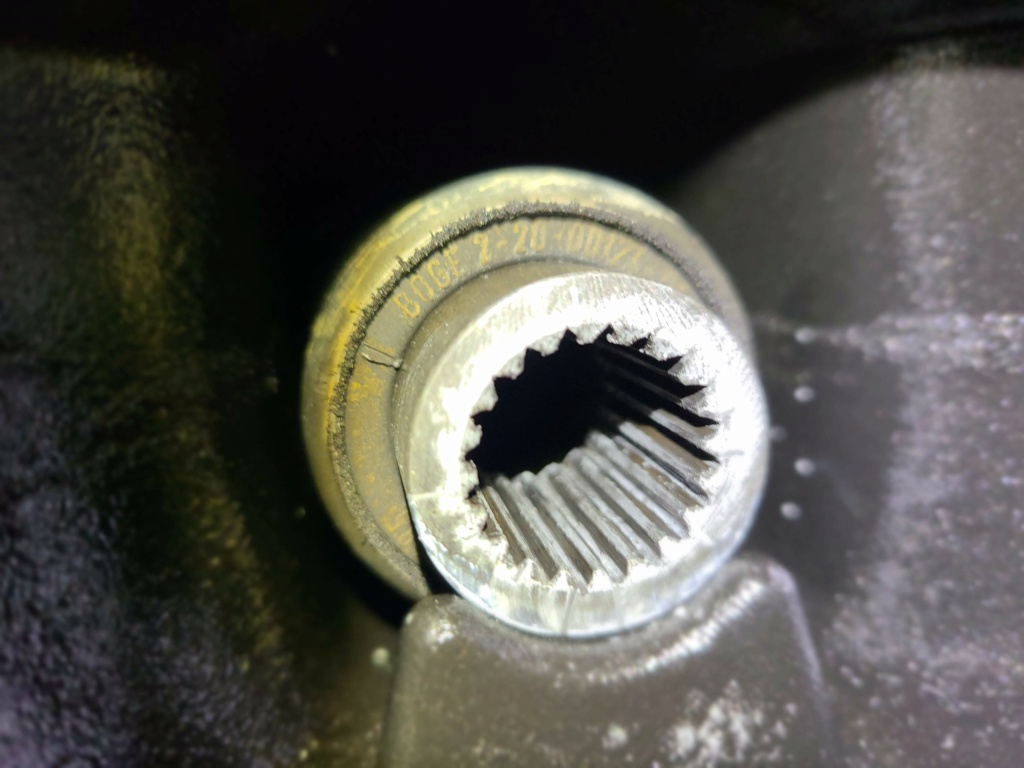
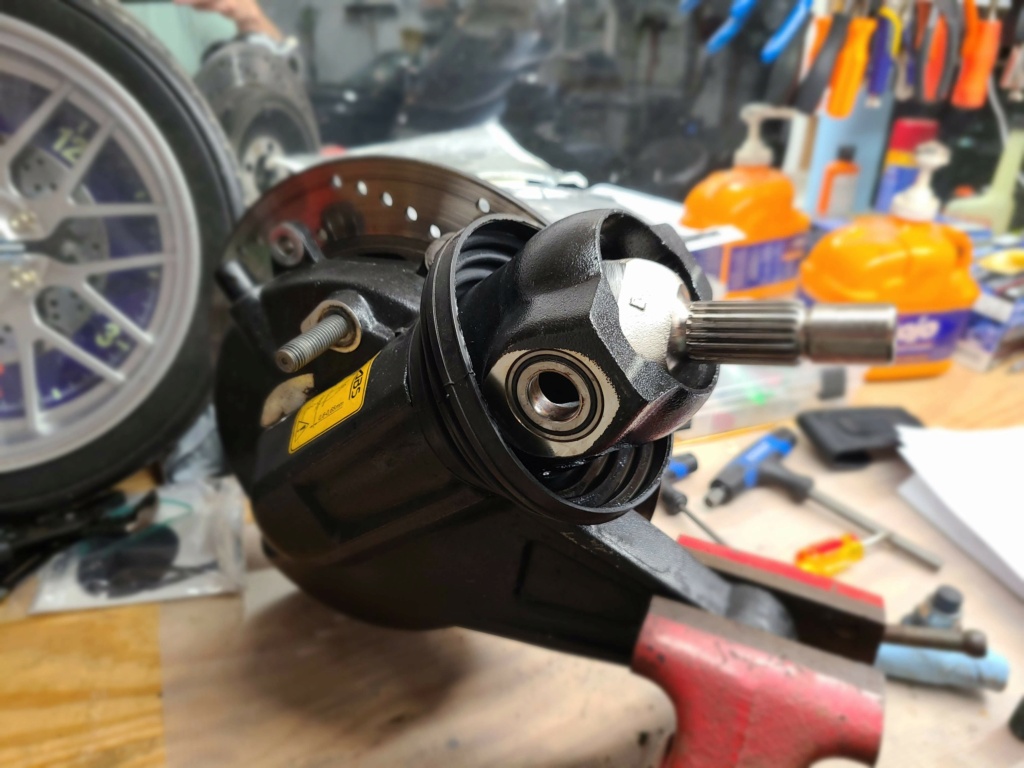
The forward part of the drive shaft is held in place on the output shaft of the transmission with a spring ring that sits in a groove on the output shaft. Grab the end of the drive shaft with a pair of Vise Grips and give it a hearty yank and it will come out of the swing arm. Then you can make your phasing marks and lube the splines at the transmission end of the drive shaft.
When you put it back together, insert the front part of the drive shaft in the swing arm with your mark in a spot where it can be easily seen. Push the drive shaft back onto the transmission output splines until the spring stops it. A good whack or two will then push the driveshaft onto the output splines. When you have it in place you will not be able to easily pull it out. Then it's a simple matter to slide the rear section of the drive shaft splines into the forward part with the proper phase alignment.
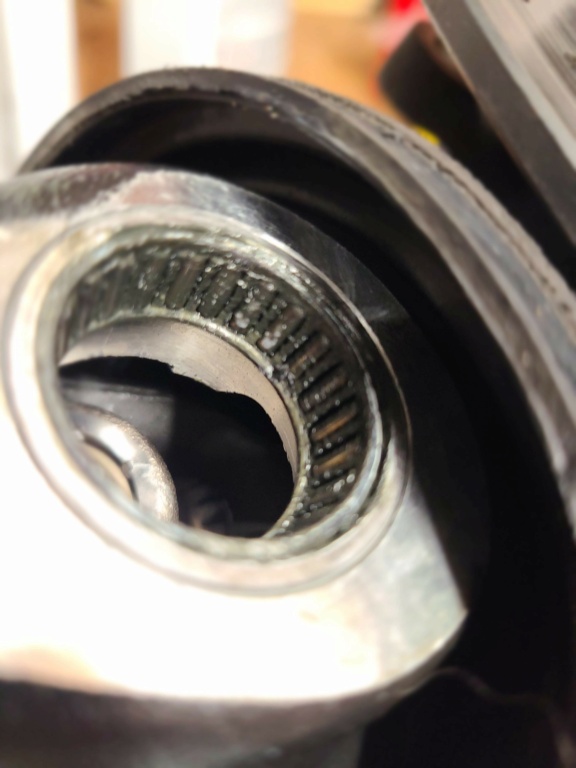
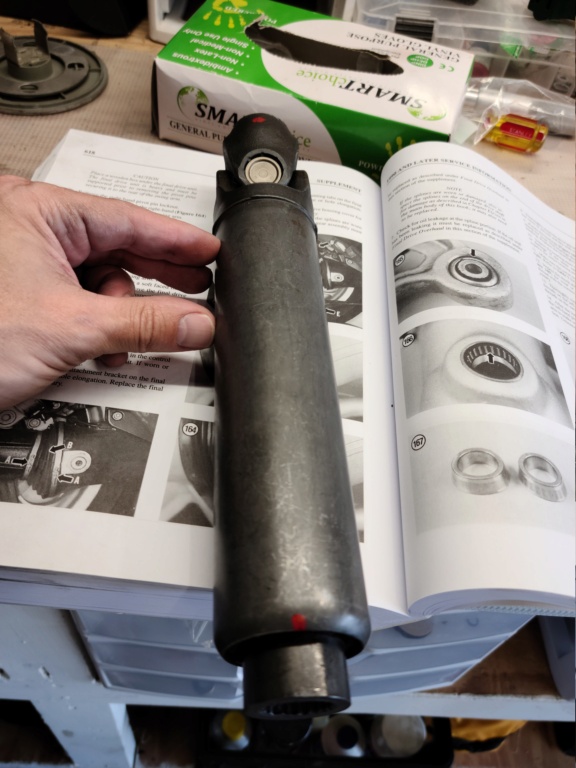
One final note on phase alignment of the u-joints. When you have the shaft on your bench you will notice that you cannot get the u-joints in perfect alignment. They will be off by about half a spline. This is to allow for the deflection of the rubber shock cushion in the forward part of the drive shaft. The shaft rotates anti-clockwise as you look at it from the rear of the bike. To allow for the rubber cushion the rear u-joint should be slightly ahead in an anti- clockwise direction of the front joint. Again, this is looking at the drive shaft from the rear of the bike.
When you have the joints aligned this way, the resistance of the rear wheel to the torque on the front part of the drive shaft will twist the rubber in the shaft so the u-joints go into perfect phase.
__________________________________________________
Present: 1991 K100RS "Moby Brick Too"
Past:
1994 K75RT "Ilsa, She Wolf of the SS"
1988 K100RS SE "Special Ed"
1994 K75S "Cheetos"
1992 K100RS "Moby Brick" R.I.P.
1982 Honda FT500
1979 Honda XR185
1977 Honda XL125
1974 Honda XL125
1972 OSSA Pioneer 250
1968 Kawasaki 175


 1994 1100 LT - Final Drive Wed Apr 14, 2021 11:41 am